Illuminate your outdoor space with ease! This comprehensive guide provides step-by-step instructions on how to power your outdoor lights. Outdoor lighting can add ambiance and security to your home, but figuring out how to power those lights can be challenging. Whether you’re looking to install new lights or upgrade your existing setup, this guide will walk you through the steps to ensure your outdoor lights are installed safely and efficiently.
Determine the type of outdoor lighting you want.
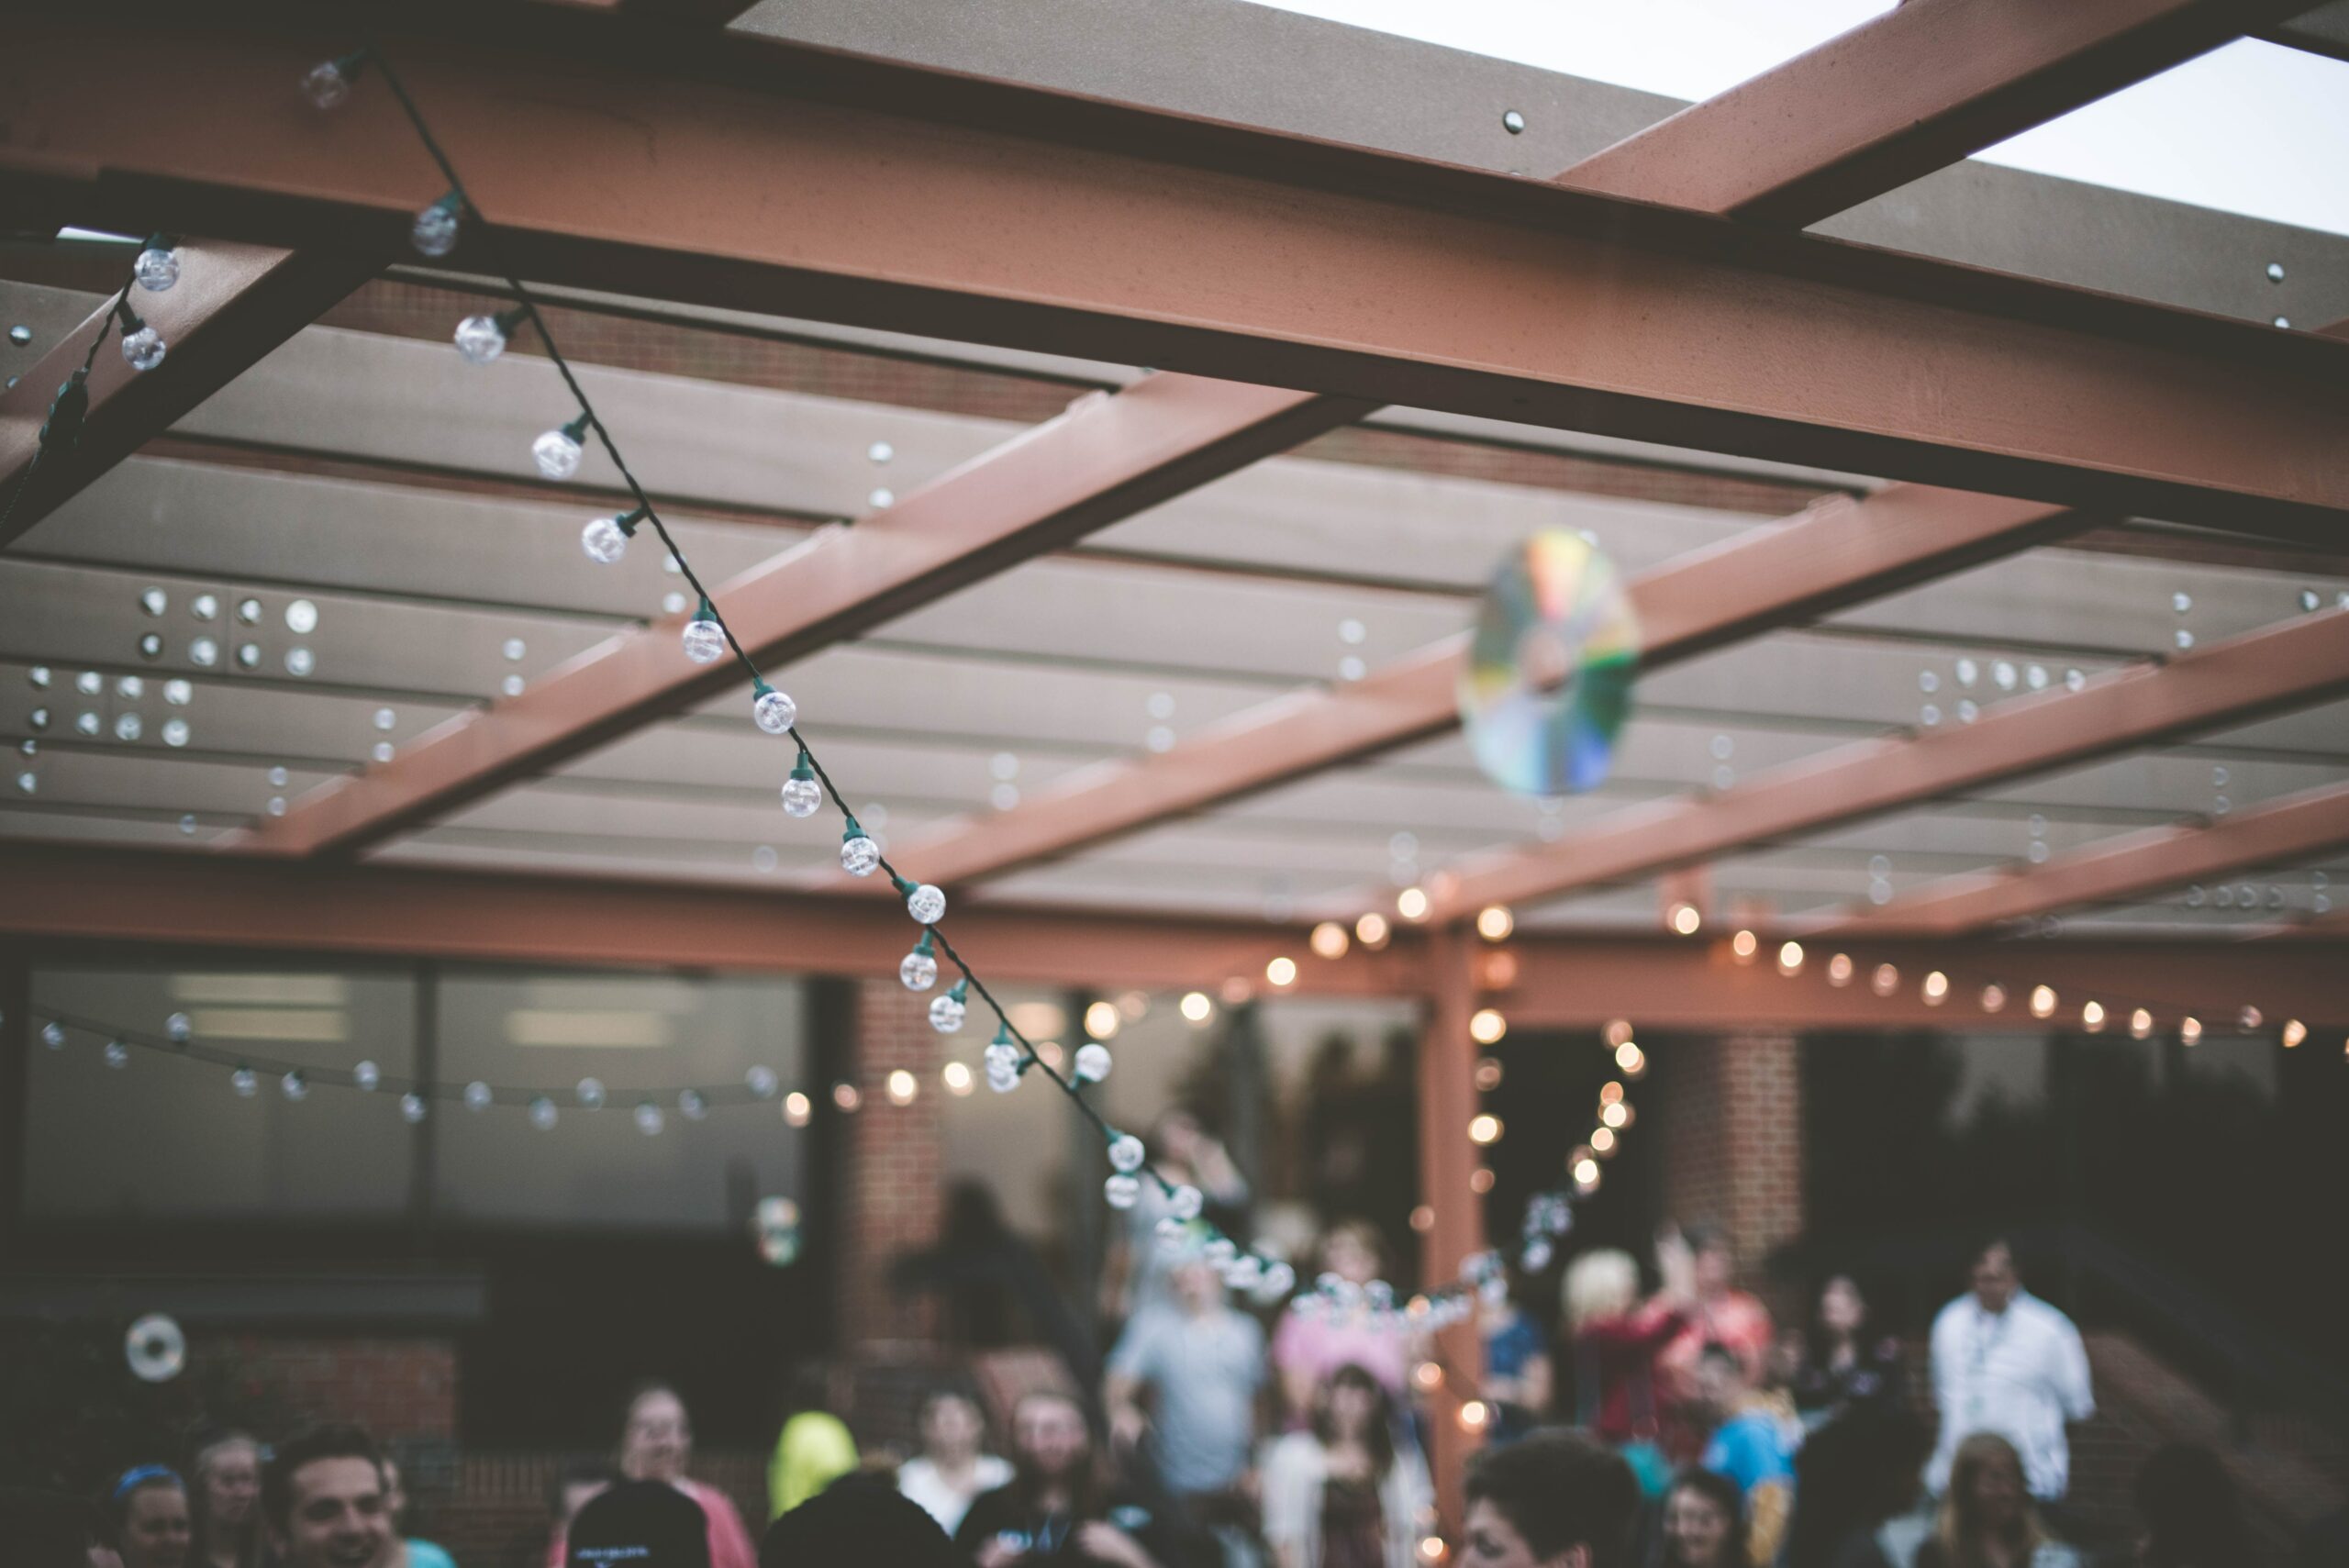
Before powering your outdoor lights, determine what type of lighting you want. Do you want to install pathway, flood, or decorative string lights? Each type of lighting requires a different power source and installation method. Once you have decided on the type of lighting, you can move on to selecting the power source and wiring.
Choose the power source for your outdoor lights.
Several options for powering your outdoor lights include solar, battery, and hardwired electricity. Solar lights are a great option for those who want to save on energy costs and have a sustainable lighting solution. Battery-powered lights are easy to install and can be moved around as needed. Hardwired electricity is the most reliable and long-lasting option, but it requires professional installation and may be more expensive upfront. Consider your budget, location, and lighting needs when choosing the power source for your outdoor lights.
Install a transformer for low voltage lighting.
If you choose to install low voltage outdoor lighting, you will need to use a transformer to convert the standard 120-volt household current to the 12-volt current required for the lights. The transformer should be installed in a dry, protected location like a garage or basement. Our experienced technicians will choose a transformer with enough wattage to power all of your lights. We also follow the manufacturer’s instructions for installation and wiring. Once the transformer is installed, we can connect the low voltage wiring to your lights.
Install a junction box for hardwired lighting.
If you choose to install hardwired outdoor lighting, you must install a junction box to connect the wiring. The junction box should be weatherproof and installed in a location easily accessible for maintenance. Our SPS Electric team can install the junction box, following all the local electrical codes and regulations. Then, we can connect the wiring to your lights to ensure safety and proper installation.
Connect and test your outdoor lights.
Once your outdoor lights are installed and wired, it’s time to connect and test them. Turn off the power to the circuit before connecting the wires. We also recommend that you get our help with your electrical needs. We’ll connect the wires according to the manufacturer’s instructions, making sure to match the colors of the wires. Once the wires are connected, we’ll turn the power back on and test the lights. With your outdoor lights connected and working properly, you can now enjoy your beautifully illuminated outdoor space.
Let us help with your outdoor lights
When you need outdoor lights, reach out to our expert team of electricians at SPS Electric. We’ll help to power outdoor lights no matter how big or small the project is. To learn more, contact us at SPS Electric today!